
In-House Courses
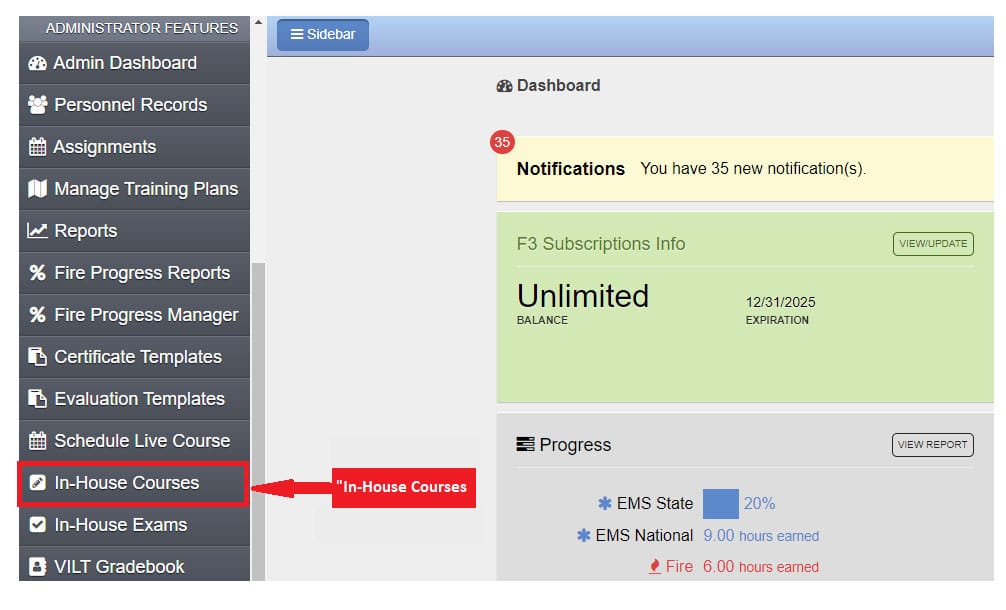
In-House Courses can be used to provide department-specific training to your employees and keep track of completions in one platform. To build an in-house course, click the “In-House Courses” tab.
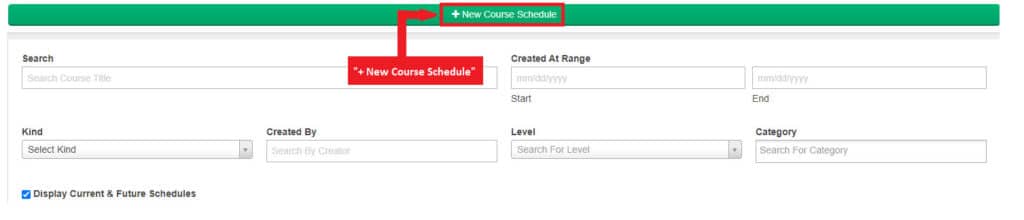
To create a new course, click on “+ New In-House Course” at the top.
Creating a Course
There are 5 steps you must complete to build an in-house course.
Step 1 – Enter Course Information
Fill in the required information. The title of the course will be displayed to your employees, so make it something easy to interpret. The instructor can be your department’s name or the educator from your department that created the course. The location will be “Online.” The description of the course will be visible to your employees in the course library. The Kind field is used to designate which course library the course will show in.
Do NOT check the box next to “Appears in Live Course Calendar” if this is self-paced material. If you require a time limit on the course before the learner can access the course, click the “Time Limits” checkbox and put the number of seconds required before the course becomes available.
Add the accreditation to the course. If you have a course with multiple categories and hours, that information can be applied here. The approval code is your department’s EMS Accreditation Training Entity Number given to you by the state you are in. The accreditation expiration date is when the accreditation will expire, NOT when the exam is due.
Step 2—Create Slides
The next step is to add slides. The slides are used to present the material to the users taking the course. Slides can include any of the following:
- Documents or videos from your computer, including power points, word documents and PDFs
- URLs of embedded online videos and websites like YouTube or Vimeo
- Scorm or Captivate files
- Downloadable documents for your staff.
Step 3—Add Exam
The next step is to build the exam. You can define how many minutes the learner has to complete the exam. Enter the number of questions for the learner to answer in the Question Total field. Enter the passing score and the number of attempts the learner can have before they need permission to re-test. Exam questions and answer order can be randomized.
Enter the exam questions, including the answers. The questions can be or contain images. All questions require an explanation of the correct answer. After all of the questions have been added, hit the “Save” button.
Step 4—Add an Evaluation
Use the drop-down menu to select an Evaluation Template. If you have not yet built an evaluation template, see how to do that in the Certificate and Evaluation Template guide.
Step 5—Add a Certificate
Use the drop-down menu to select a Certificate Template. If you have not yet built a certificate template, see how to do that in the Certificate and Evaluation Template article.
Activating and Editing Your In-House Course
Your in-house course will now show in the list of in-house courses. Click on the title to edit or activate it.
If you want to preview the course slides before releasing the course to your employees, you can do that here. You can also print the test key and the exam. Once you start having course completions, you’ll be able to review the Evaluation Report and Exam Report.
You can choose where the users will find the course, either in the Course Library, in Assignments, or both. If you want users to be able to search for the course themselves, use “Show in Course Library”. If you want to assign the course, use “Show in Assignments.”